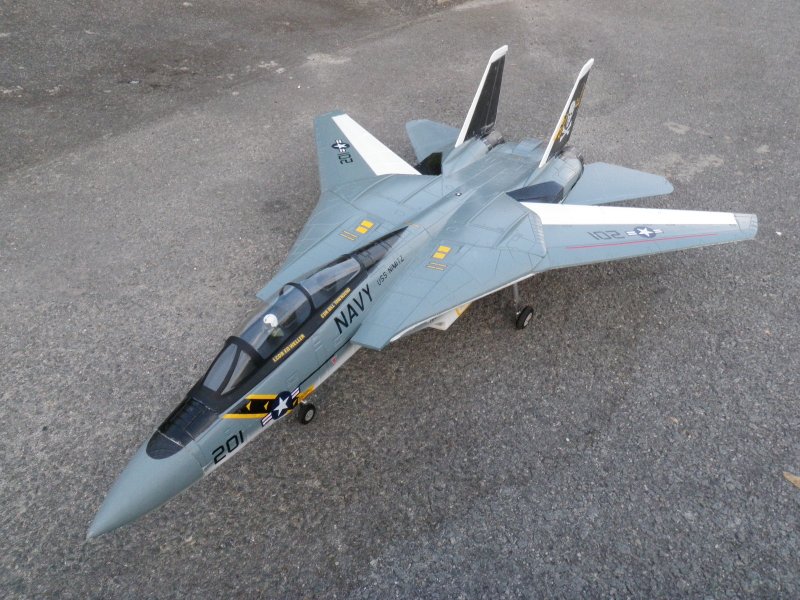
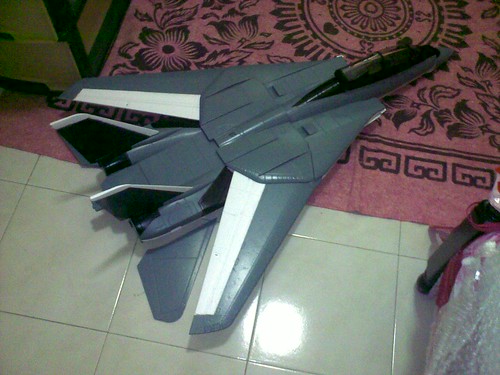
KK Quadcopter basically is a helicopter controlled by 4 motors. It require 3 axis gyro's to control each motor to perform maneuver. It requires no servo to operate.
My setup for KK quad "+" config is the following:
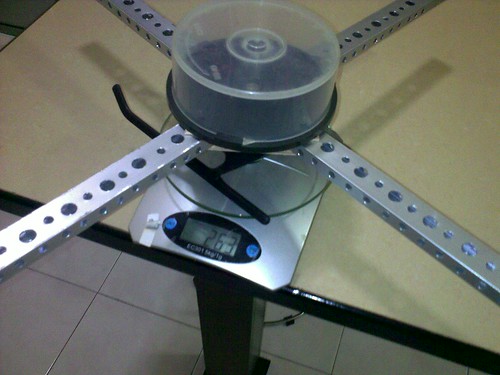
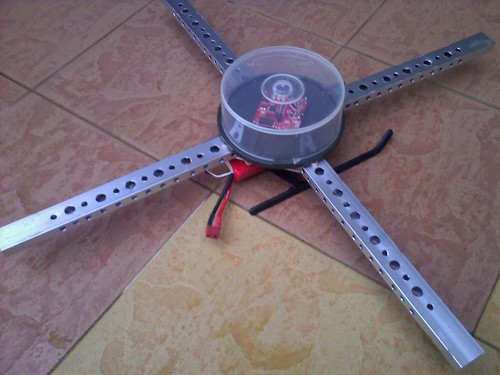
1. Aluminum frame with plywood center piece. Each arm 290mm length.
2. DVD casing
3. 450 Landing skid
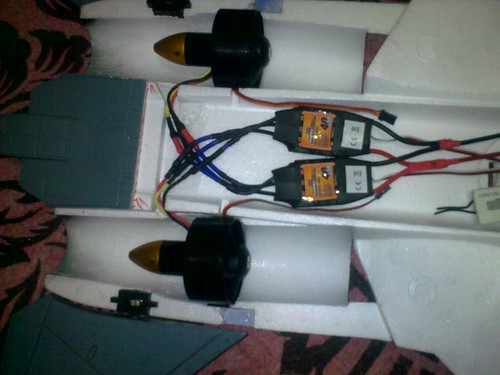
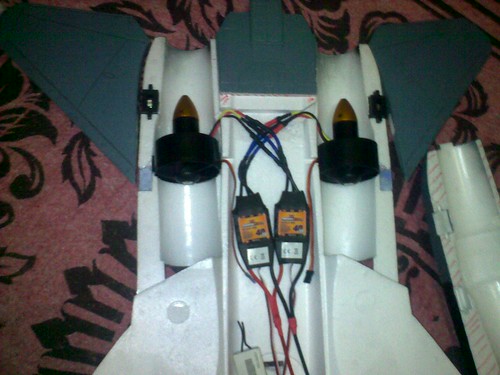
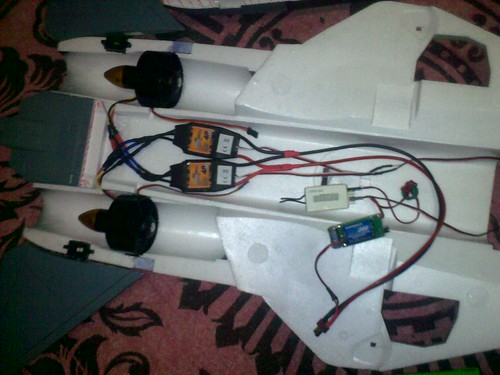
4. 4 x 18-20A ESC -- 72g
5. 4 x
FC 28-22 Brushless Outrunner 1200kv -- 156g
6. KK Board
7. 10x4 CCW & CW props
I'm targeting AUW would be arround 800g.


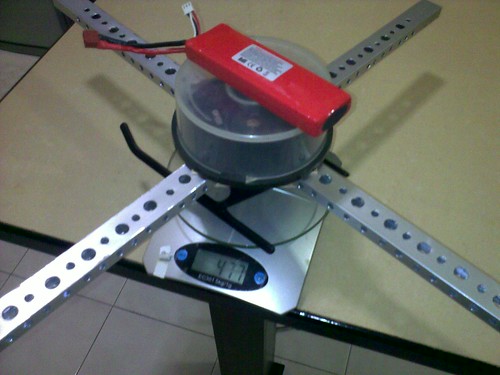

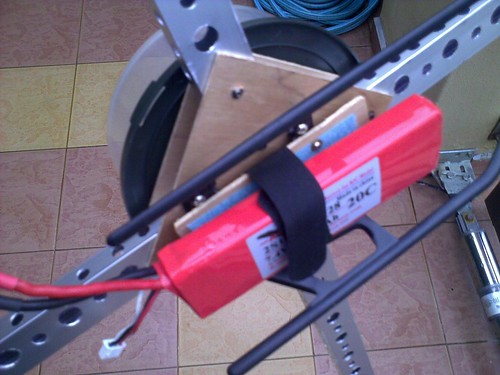
Battery try underneath the center part
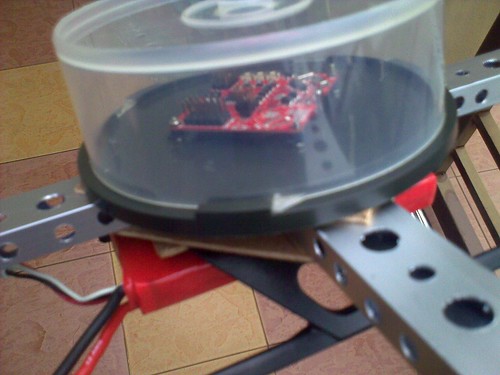
KK board safely inside CD case
Current weight 497g..
I can spend another 300 gram on rx(30g), wiring(30g) , motor's (est 170g) and ESC's (est 80g).
Update:
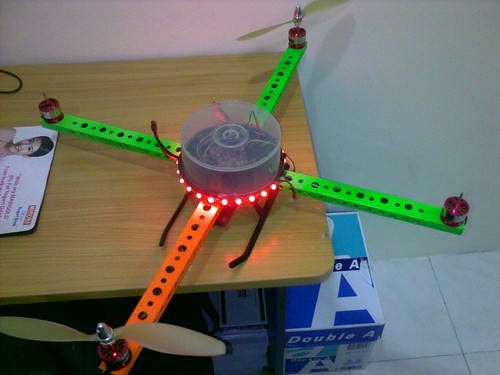
DONE!!! AUW 865g..
just to share my setup..
--> Initial setup for mode 1 radio..
1. Set the radio to plane mode
2. On radio and wait for ESC arming tone..if tone enter programming mode reverse throttle channel (3 on futaba)
3. Wait for ESC arming tone done..and move rudder stick to right and wait for KK board LED turn blue..if not then lower throttle trim while rudder stick move to right. Trim throttle until LED turn blue (mine require 4 clicks).
4. set radio atv aileron, elevator to 50%..set all pots trim to 50% (far clockwise = 0, moving anti = 100).
5. Check gyro direction by throttle up 1/4 stick (without props). Move the quad forward..forward motor should speed up..if not reverse gyro.
6. Reverse gyro by set the roll pot trim to 0, on radio and board move rudder stick to right and LED on KK board should blink..to change gyro direction move the elevator stick to counter the direction.
7. Do the same for aileron direction.
8. CCW goes to the forward and backward motor and CW props goes to left and right motors.
9. Make sure your gyro mounted on a level surface.
10. Overhead test to ensure all operation is working. Quad should resist any changes by speeding up motors.
11. Every-time powering up quad..turn rudder stick to the right to initialize flight.
More information regarding multirotor machine can be found:
http://www.kkmulticopter.kr/http://www.kkmulticopter.com/https://www.aeroquadstore.com/Maiden flight..really nice..stable flight and easy to control..I like the feeling of flying a quad..

Night flying..